
The flower pots on my porch that were so glorious this summer are now looking tired and sad, so it was time to throw them out last week. It reminded me that after emptying the flowers, there is still one more chore to do before you put your pots in storage for the winter and that is to clean them out.
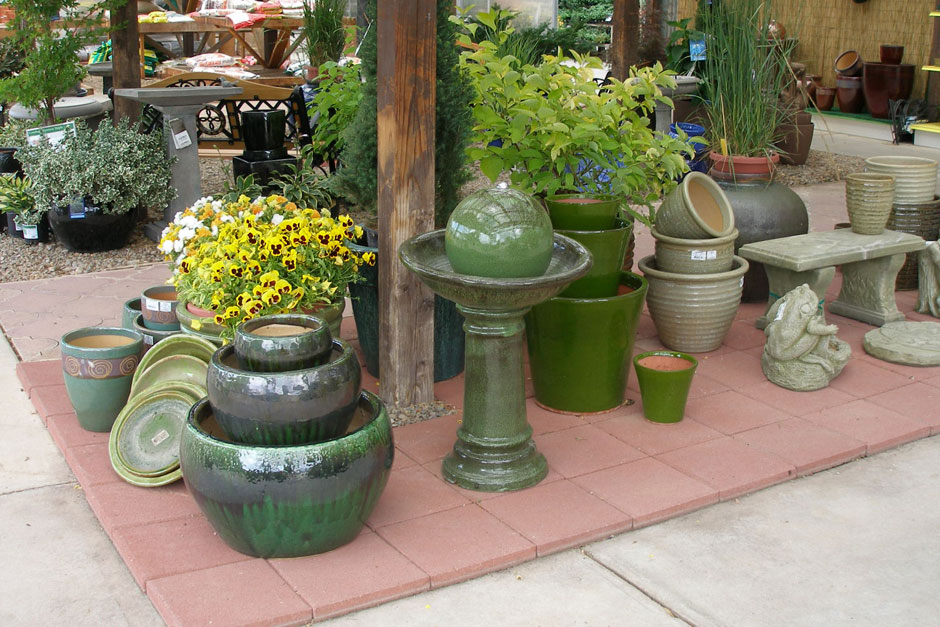
You’d be surprised how many people bring pots to the garden center each spring for us to custom plant that have not cleaned out their pots after emptying them the previous year. No matter whether you’ve used clay or plastic pots, both should be cleaned and sanitized. This is important to prevent the spread of disease onto whatever you plant in that pot next year. Many people don’t realize that diseases can be carried over, living in the clay or on the pot in the soil residue and remaining active until the following year. This is especially true of viruses that tend to live a very long time. One in particular, tomato spotted wilt virus, is particularly nasty and once you have it on a pot, especially a clay one, it’s almost better to dispose of the pot and start fresh the following year. While it doesn’t easily transfer to other crops, at the very least, you shouldn’t plant tomatoes in that pot again.
Thankfully, cleaning and sterilizing your pots is a fairly simple chore, only takes a few minutes, and will go a long way in keeping next years plants healthy.
If you’ve used clay pots, most likely you also have a white, crusty residue on the outside and while some people love this look, many others don’t. This layer is formed from the minerals in the hard water and salts in the fertilizer you’ve used throughout the season. Use hot water and a good, stiff bristled scrub brush to remove as much as you can. If you have terra cotta clay pots, you can also use a knife to scrape away at this layer without doing much damage to the clay.
Once you have those salts removed, use that stiff bristled brush to work on the inside, scrubbing to remove all the leftover dirt or root debris on the inside of the pot. Once that cleaning is done, you are ready to sterilize.
Though gardeners disagree on which is best, a solution of either vinegar, bleach, or alcohol in a one part to ten parts water strength can be used effectively. Mix up your solution of choice in a large container and submerge your pots into it. Weigh them down so that they are underwater and let them soak. The longer you can let them soak, the better your results will be, but even ten minutes can be enough to be effective.
Once they have soaked, remove them from the bath and rinse them well to remove any residual bleach, vinegar or alcohol. You can soak them for a while in clean, clear water if you wish to remove most of the odor. Then put them in the sun to dry. Be sure to keep any dirty pots separate from cleaned ones to prevent the spread of organisms that can carry disease. Once your pots are thoroughly dry, you can move them to your garage or shed for winter storage.
Knowing how to clean your pots effectively can go a long way in ensuring healthy plants next year. Think of it this way- you wouldn’t want to put on clothes next spring that hadn’t been washed after wearing them this summer – neither do your plants!